How to Control Pet Hair in the House: Floors, Sofas and Bedding
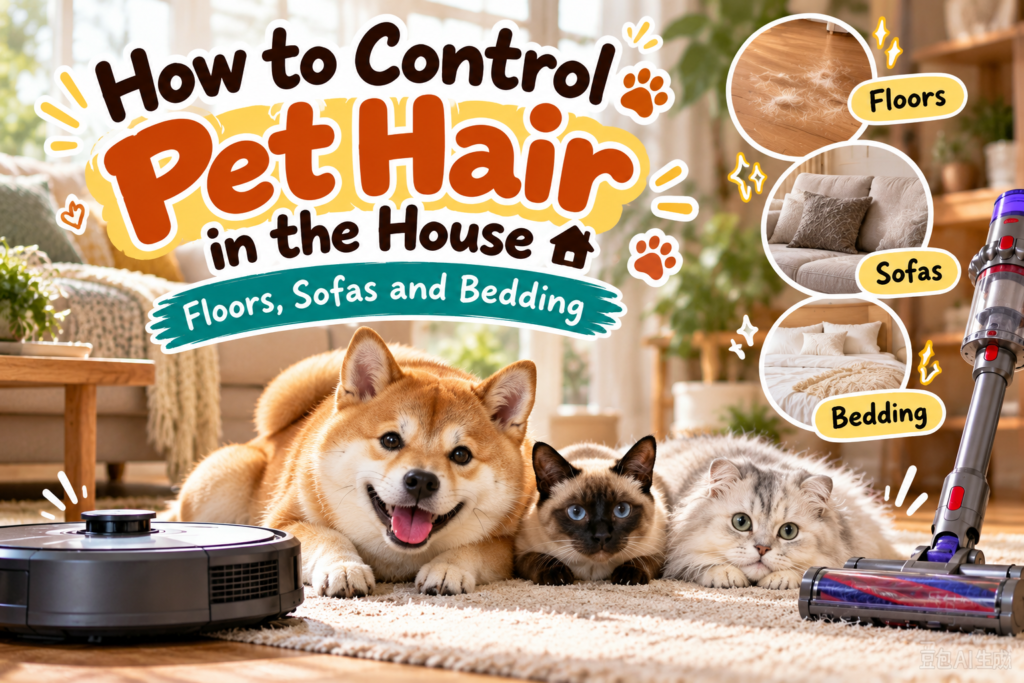
To control pet hair in the house, start with the surface and the work it needs: collect loose hair from floors, use a fabric-compatible method on upholstery, and remove excess hair from washable bedding before laundering it. Try the appropriate tools you already own before adding another one.
The goal is a repeatable way to keep the workload manageable.
With one Shiba Inu and two cats at home, we deal with hair on both the floor and the sofa. Clearing the accessible floor takes care of one part of the work, but hair left on the sofa needs its own attention. That is why I find it more useful to think about the surface first instead of treating pet hair as one whole-house cleaning problem.
The care guidance and specific product references below draw on manufacturer documentation. The household routines and observations come from my own day-to-day experience with one dog and two cats. Only devices I explicitly describe using are part of that experience; the other product references are research-based examples, not claims of hands-on testing.
Match the method to the surface and the task
Before choosing a tool, identify what is left to clean. Is hair lying loose on a hard floor? Remaining in a rug after a pass? Sitting along a cushion seam? Going into a laundry load?
Those situations call for different decisions. Use this table to choose a starting point, then follow the material-specific guidance below.
| Surface | Task | Start with | Tool only if needed | Care limit |
|---|---|---|---|---|
| Hard floors | Collect loose hair | Existing floor-safe dry tool or suitable vacuum setting | Appropriate floor head | Match the finish and flooring instructions |
| Carpet / rugs | Collect hair; address what remains | Existing vacuum with permitted settings | Compatible detail attachment | Pile and construction affect brush suitability |
| Sofas / upholstery | Remove surface hair and reach seams | Approved upholstery or crevice attachment | Fabric-compatible manual collector | Fabric care and tool restrictions both apply |
| Bedding / washable covers | Remove excess hair before laundry | Suitable existing dry collector | Compatible roller or attachment | Check cover, insert and appliance instructions |
A more thorough clean might mean reaching an accessible edge or preparing a cover for washing. It does not automatically require a stronger machine or a wet treatment.
Floors: collect loose hair, then check what remains
Hard floors: use the right existing head or dry tool
Begin with a method suited to your flooring. For wood, the National Wood Flooring Association’s maintenance guidance includes sweeping, dust mopping and vacuuming with the bare-floor setting. It also warns against wet and steam mops.
For other hard floors, choose the setting and head specified for that material and finish. The head you use on a rug may need adjusting or changing before it moves onto the floor beside it.
Collect visible loose hair first. If the floor also needs washing, handle that as a separate task under its care instructions. Hair alone is no reason to add a wet-cleaning step.
After a pass, look at what remains. An accessible edge may need a detail attachment even when the open floor is clear. Try the appropriate attachment you already have before considering another appliance.
Carpet, rugs and accessible edges need a different check
Avoid treating every carpet as a surface that benefits from more aggressive brushing. Brockway’s carpet-care advice distinguishes cut pile from loop pile, where brush contact can damage the surface. Your own carpet or rug maker’s instructions should determine the permitted approach.
When hair remains, check the head, setting and material compatibility before reaching for a scraper. A tool advertised for carpet is not permission to use it on every loop, weave or delicate rug.
Keep the broad floor pass and detail work separate. Reachable edges or gaps may need a suitable attachment, without turning each maintenance pass into a complete room reset.
Keep floor automation in its proper role
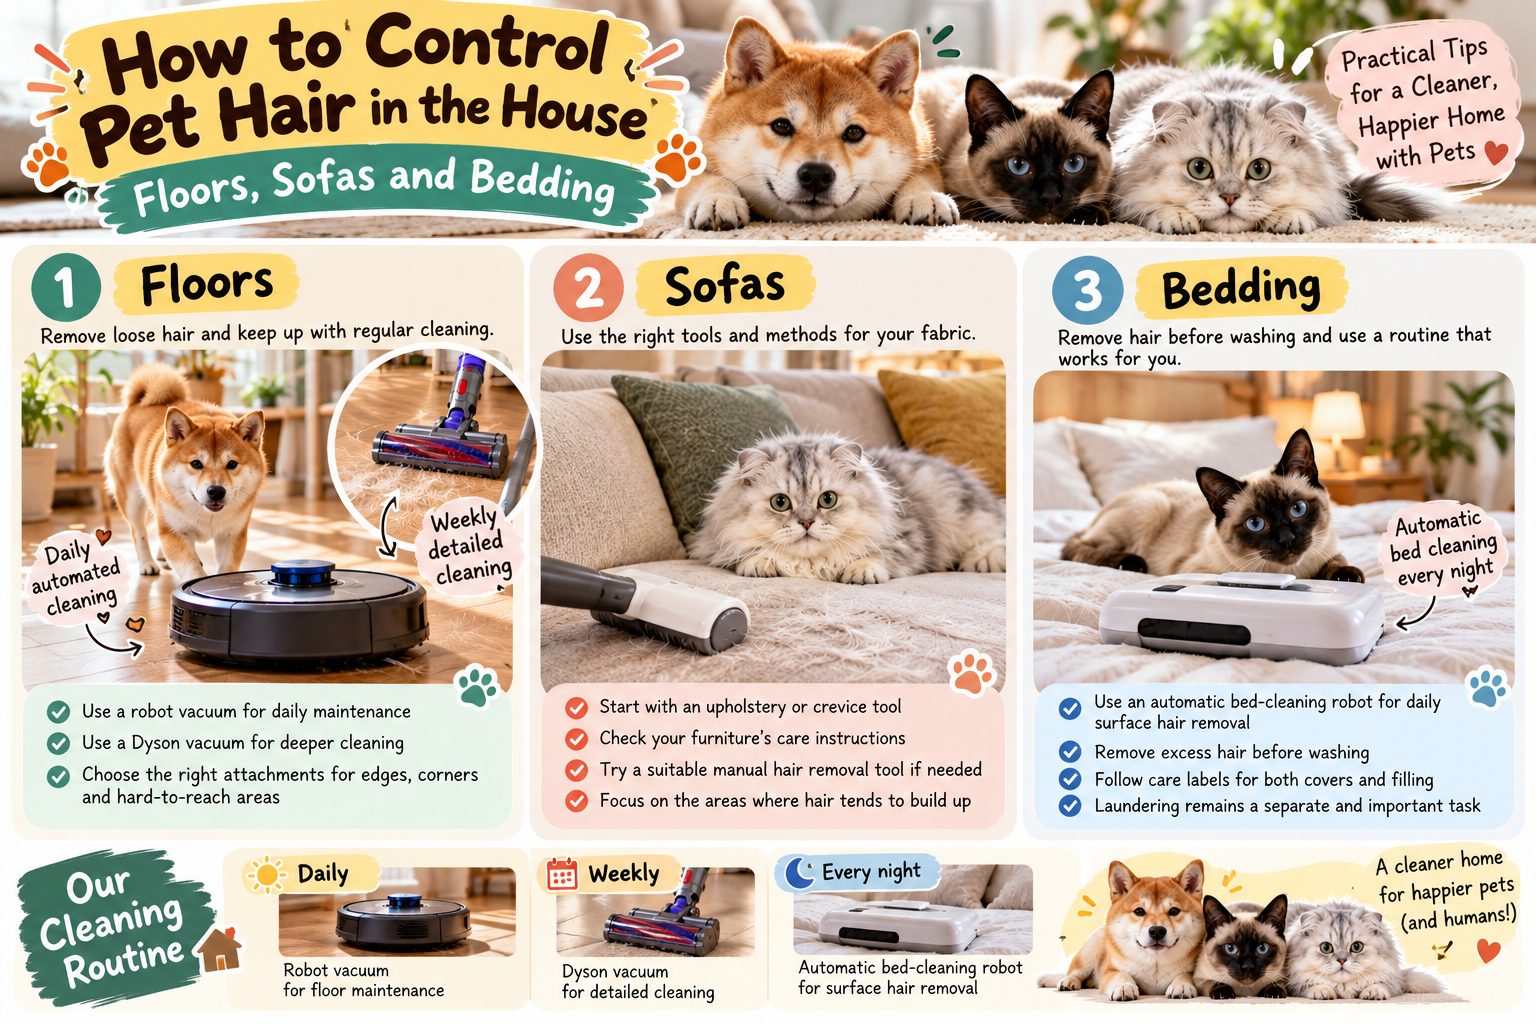
In our home, the robot vacuum cleans the floors automatically every day. I use a Dyson about once a week for more detailed cleaning. Its different heads and attachments help me reach gaps, edges, corners and other places the robot does not handle as well.
I find its suction strong. With my machine, a full charge lets me take my time and vacuum our whole home thoroughly. That is my experience with my own device and home, rather than a runtime promise for other Dyson models.
Dyson’s official attachment guide describes crevice tools for narrow gaps and corners, along with tools for upholstery and mattresses. Availability and compatibility depend on the model, so match an attachment to your machine and the surface you want to clean.
That division gives floor automation a specific role: routine collection in accessible areas, with targeted work handled separately. The robot’s brushes, caps and pickup path still need maintenance; iRobot’s brush-care instructions show the model-specific work involved.
Our guide to cleaning an automatic litter box also separates the automated task from the surrounding-floor work that remains.
Sofas and upholstery: check the fabric before the tool
Start with an approved upholstery or crevice attachment
Start with the fabric’s care information. An upholstery attachment may suit the main surface, while a crevice tool can reach an accessible seam or gap. Room & Board’s care guide recommends an upholstery attachment for its furniture.
See how the attachment handles both the main fabric surface and accessible details. If it leaves a particular patch, focus on that smaller task before trying a different tool.
For manual collection, match the tool’s fabric restrictions to the furniture’s care. A hard edge, rubber brush or damp glove that worked on another couch may be unsuitable here.
Cleaning codes matter here. For example, the Crate & Barrel care guide restricts X-coded upholstery to vacuuming or light brushing and excludes water, foam and liquid cleaning agents. That code also does not certify every dry hair-removal tool.
A removable cover is not automatically washable
A zipper tells you that a casing can open. It does not tell you that the fabric, backing and stitching can withstand machine washing. Room & Board, for example, specifically advises against machine washing its cushion casings.
Keep dry hair removal separate from stain treatment. Hair on a sofa does not call for spraying, shampooing or steam cleaning; an accompanying stain needs its own care decision.
If a suitable washable throw or cover already fits the way you use the furniture, it may provide a manageable surface to collect hair from and launder. It still needs cleaning, and the furniture underneath retains its own care requirements. There is no need to buy a protective layer if your current setup is already manageable.
Bedding and washable fabrics: remove hair before the wash
For bedding that permits laundering, make loose-hair collection part of preparing the load. Maytag’s pet-hair guidance recommends using a vacuum or lint roller on suitable items before putting them into the washer.
Use a roller or attachment that suits the textile to remove what you reasonably can before washing. The laundry cycle then handles its part of the job.
Read the cover and insert labels separately: a washable outer layer does not make the whole item machine washable. For bulky bedding, check that the load also meets your washer’s capacity and operating requirements.
Use the wash and drying methods specified for the item. A pet-hair tip is no reason to add high heat, a fixed dryer interval or a household additive. Washing permission also does not automatically include tumble drying.
Between washes, a fabric-safe collector may be enough for a small amount of visible hair. When laundry is needed, remove excess hair first and maintain the appliance as directed. Some hair may still need attention afterward.
I also use an automatic bed-cleaning robot. I normally let it clean the bed each evening before I go to sleep. The biggest advantage for me is convenience: it runs on its own, reduces the nightly manual cleanup, and does a good job of picking up visible pet hair in my setup.
Mine is fairly noisy while running, and its battery life is relatively short. Overall, the convenience outweighs those drawbacks for me. If you dislike manually cleaning the bed every day, this type of device may be worth considering for surface maintenance. It does not replace laundering bedding.
For washable clothing and small fabric items, the same preparation applies: read the label, collect loose hair, then launder. Keep the existing setup if it already handles the job.
Choose a tool for the job your current setup leaves unfinished
Manual collection or local vacuuming?
Give a potential purchase a clear job description. “Collect hair from this compatible fabric surface” is more useful than “deal with all pet hair.” “Reach this accessible seam” is a different requirement from maintaining an open floor.
A reusable roller may be worth considering for repeated manual collection on an approved fabric. Look at how the exact tool is used and emptied, along with its material exclusions. Reusability alone tells you little about its fit for the job.
Hard-edge removers deserve a narrower decision. Avoid them on delicate or knitted fabrics where prohibited, and leave them out when the instructions for your fabric or the exact tool version are unclear. An inconspicuous test does not override a stated restriction.
For local dry pickup, a handheld vacuum is another format. As a research-based example, BISSELL lists upholstery, crevice and motorized tools for its Pet Hair Eraser Lithium Ion Cordless Pet Hand Vacuum, model 2390. This is separate from my household device experience; the tool still needs to suit the fabric. Its 2390-series guide sets out dry-use and maintenance limits.
If your existing vacuum attachment suits the surface, reaches the area and completes the task, keep using it. A separate handheld needs a clear remaining job.
Build a routine around maintenance, detail work and laundry
Think in three kinds of work:
- Maintenance pass: collect visible hair from accessible surfaces using the appropriate method.
- Detail work: address reachable seams, edges or remaining patches with a compatible tool.
- Laundry: prepare and wash only the items whose care permits it.
My goal is to spread the work across routines I can repeat. Daily automation handles recurring hair on the floor and bed surface; more detailed vacuuming addresses edges and missed areas. The sofa still needs targeted attention after the main floor cleanup. Laundry remains a separate task, rather than something surface cleaning replaces.
Your own rhythm can follow the surfaces that need attention, with no need to copy my schedule.
When a method seems less useful, check the tool’s own maintenance needs before buying a replacement. A full container, dirty brush or obstructed path deserves attention under the device instructions. Wash only the components the maker permits, and let washed filters dry completely before reuse.
Before another purchase, decide whether it would solve a new task, improve access or duplicate equipment. Keep the working parts of your setup and change the part that leaves a clear gap.
Keep source management in proportion
Grooming can be a supporting part of managing loose hair. VCA’s dog coat-care guidance emphasizes coat-appropriate tools and gentle handling. Choose care for the individual animal; dog-specific guidance should not become a shared grooming protocol for cats.
If hair loss becomes sudden, patchy or unusual, especially with skin changes, consult your veterinarian. That belongs outside an ordinary household cleaning routine; Banfield’s shedding guidance identifies unusual hair loss and skin changes as reasons to seek veterinary advice.
Start with the surface that keeps creating extra work
Choose one recurring problem and name it precisely: loose hair on a floor, hair left along a seam you can safely clean, or excess hair on a washable cover.
Check the care requirements, use the compatible tool you already have, and look at the task that remains. If there is a clear gap, consider one tool that addresses it. Include the emptying, brush care or laundry it will still leave you to do.
That gives you a practical way to improve pet-hair control without replacing everything at once. Keep what works, address the specific unfinished task, and build a routine you can repeat.